Client integrations#
Connect any compatible client to kluster.ai's MCP Verify server. This guide provides configuration examples for popular clients using Cloud MCP.
Self-hosted deployment
For self-hosted MCP, replace the URL with http://localhost:3001/stream and use your kluster.ai API key.
Prerequisites#
Before integrating with any client, ensure you have the required credentials:
- A kluster.ai account: Sign up on the kluster.ai platform if you don't have one.
- A kluster.ai API key: After signing in, go to the API Keys section and create a new key. For detailed instructions, check out the Get an API key guide.
- MCP token (for some clients): Follow the platform guide to enable MCP and obtain your token.
Which credential do I need?
Depending on the client and configuration method, you may need either your kluster.ai API key or your MCP token. Each configuration section below specifies which credential to use.
Configuration by client#
The easiest way to add kluster Verify to Claude desktop is using the .dxt extension file:
-
Download the extension: kluster-verify-mcp.dxt
-
Install the Verify MCP: Go to the Extensions tab in the settings menu and drag and drop the
.dxtfile, then click Install.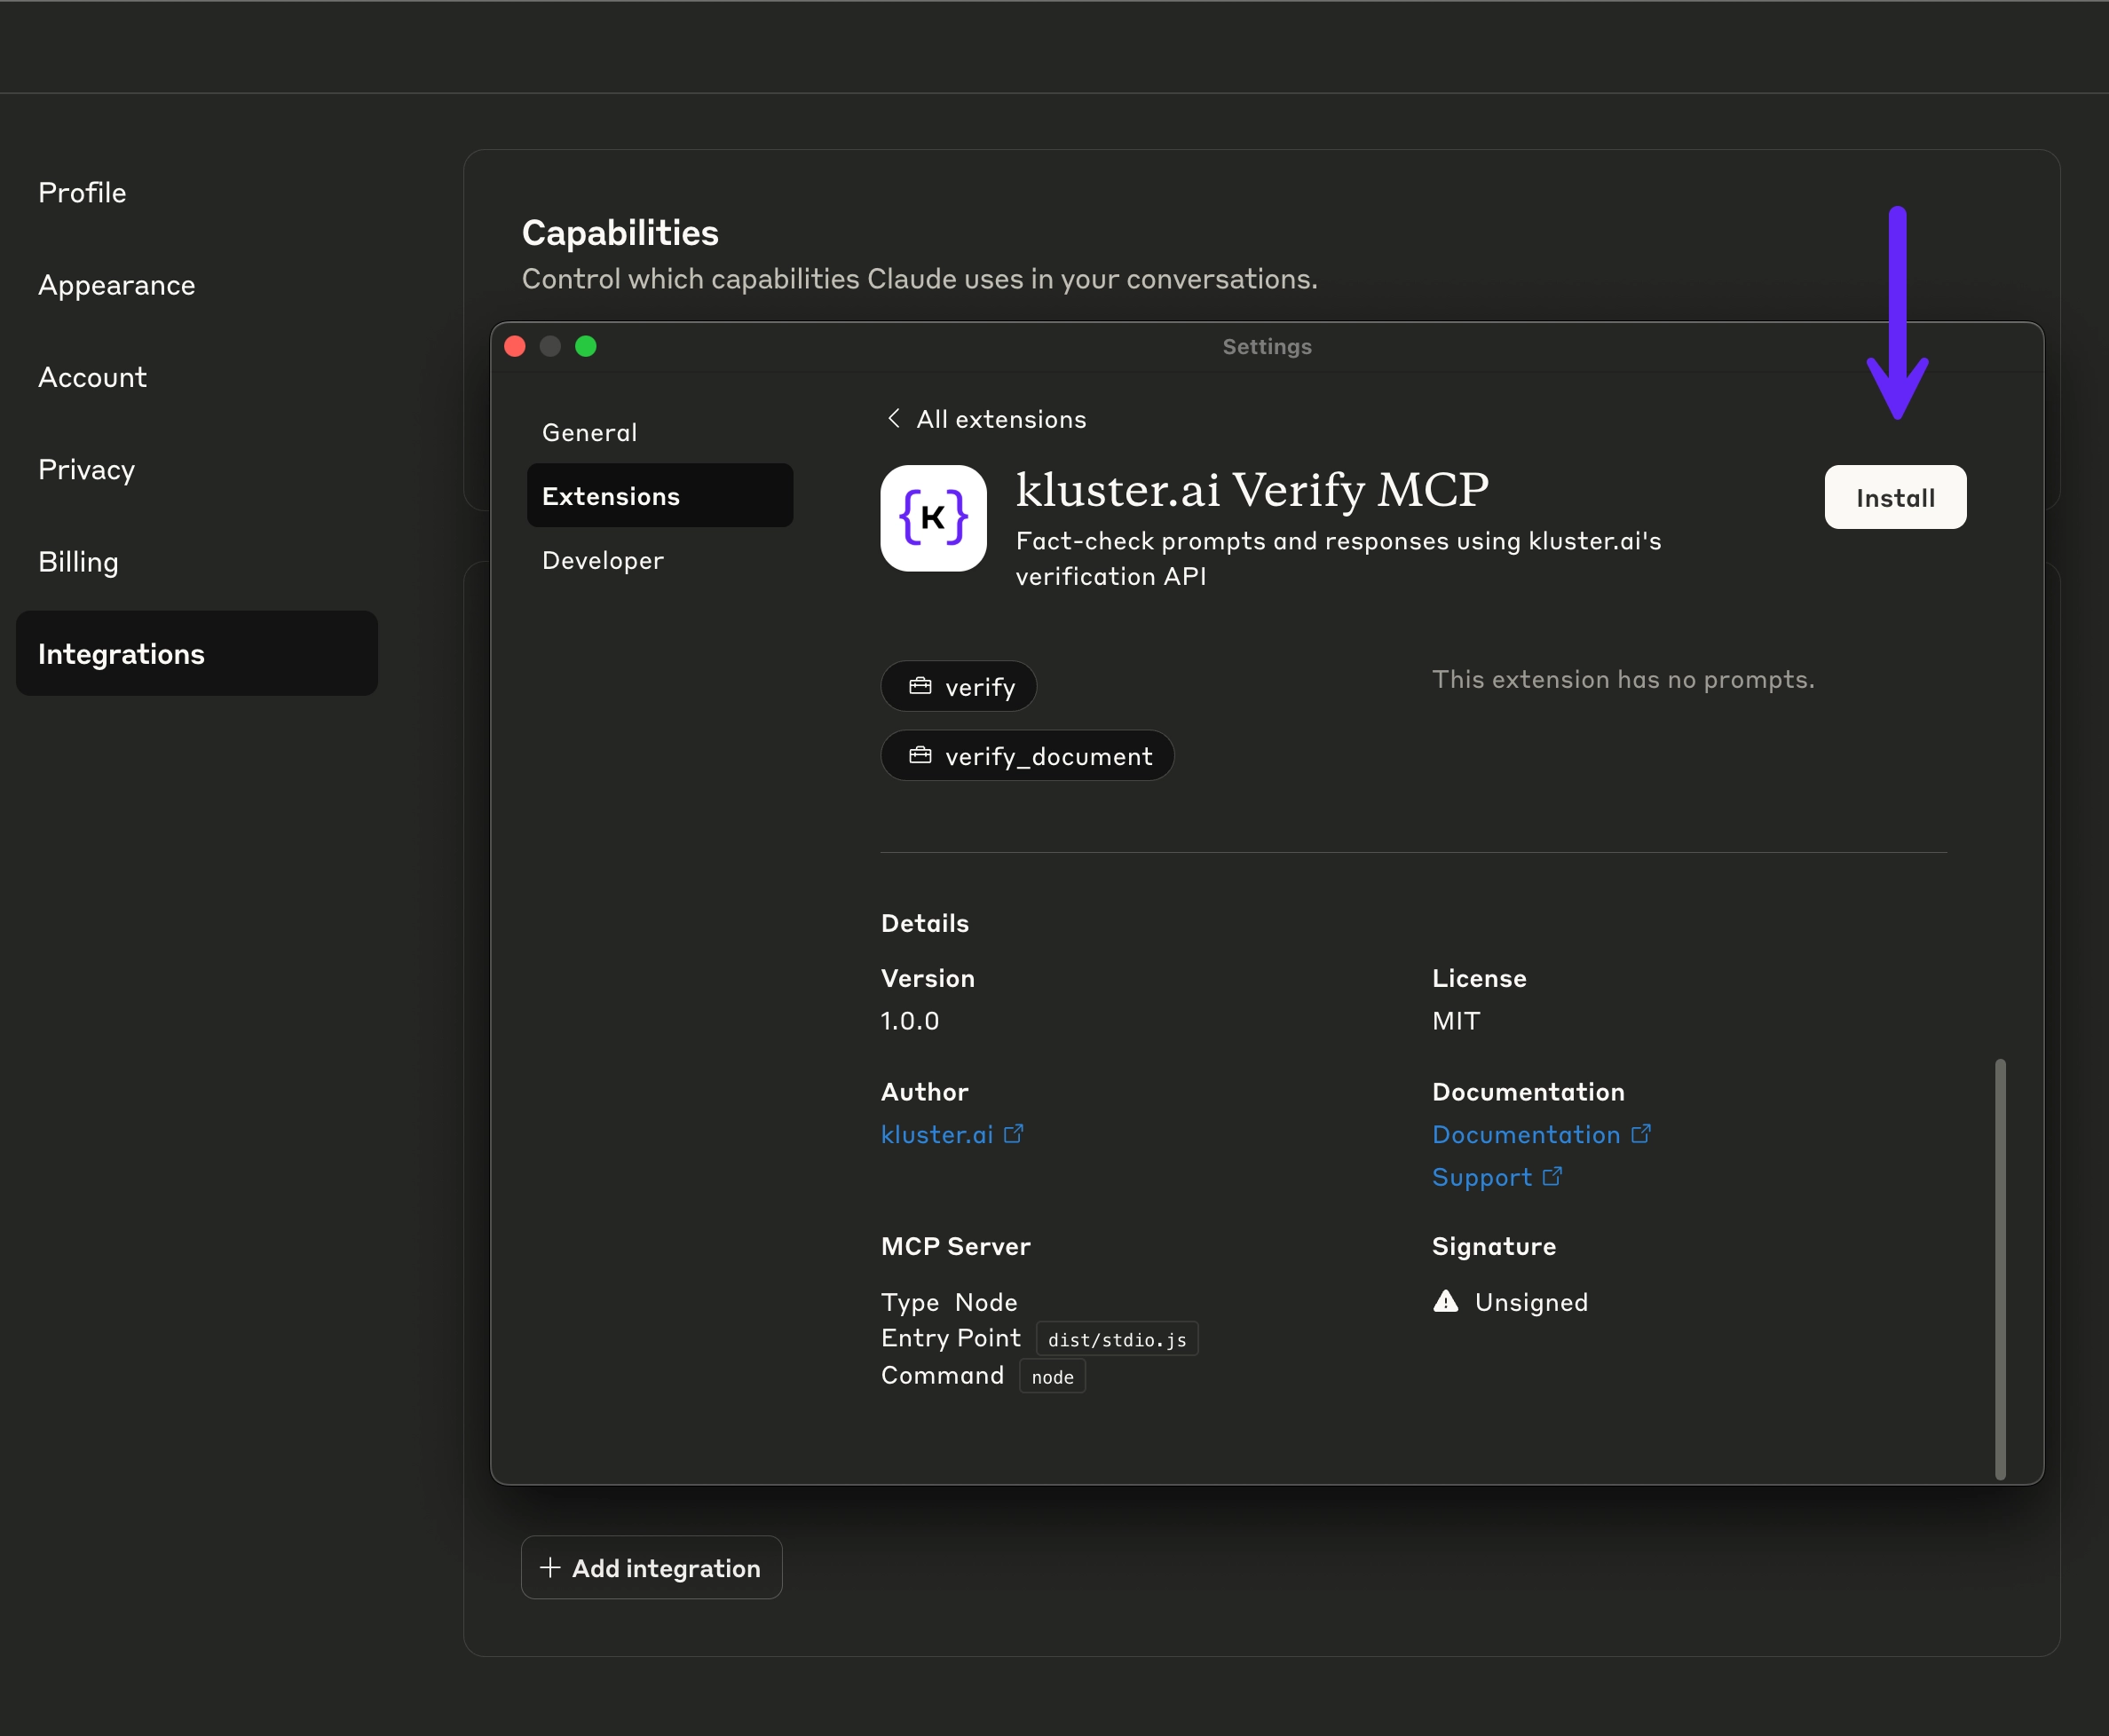
-
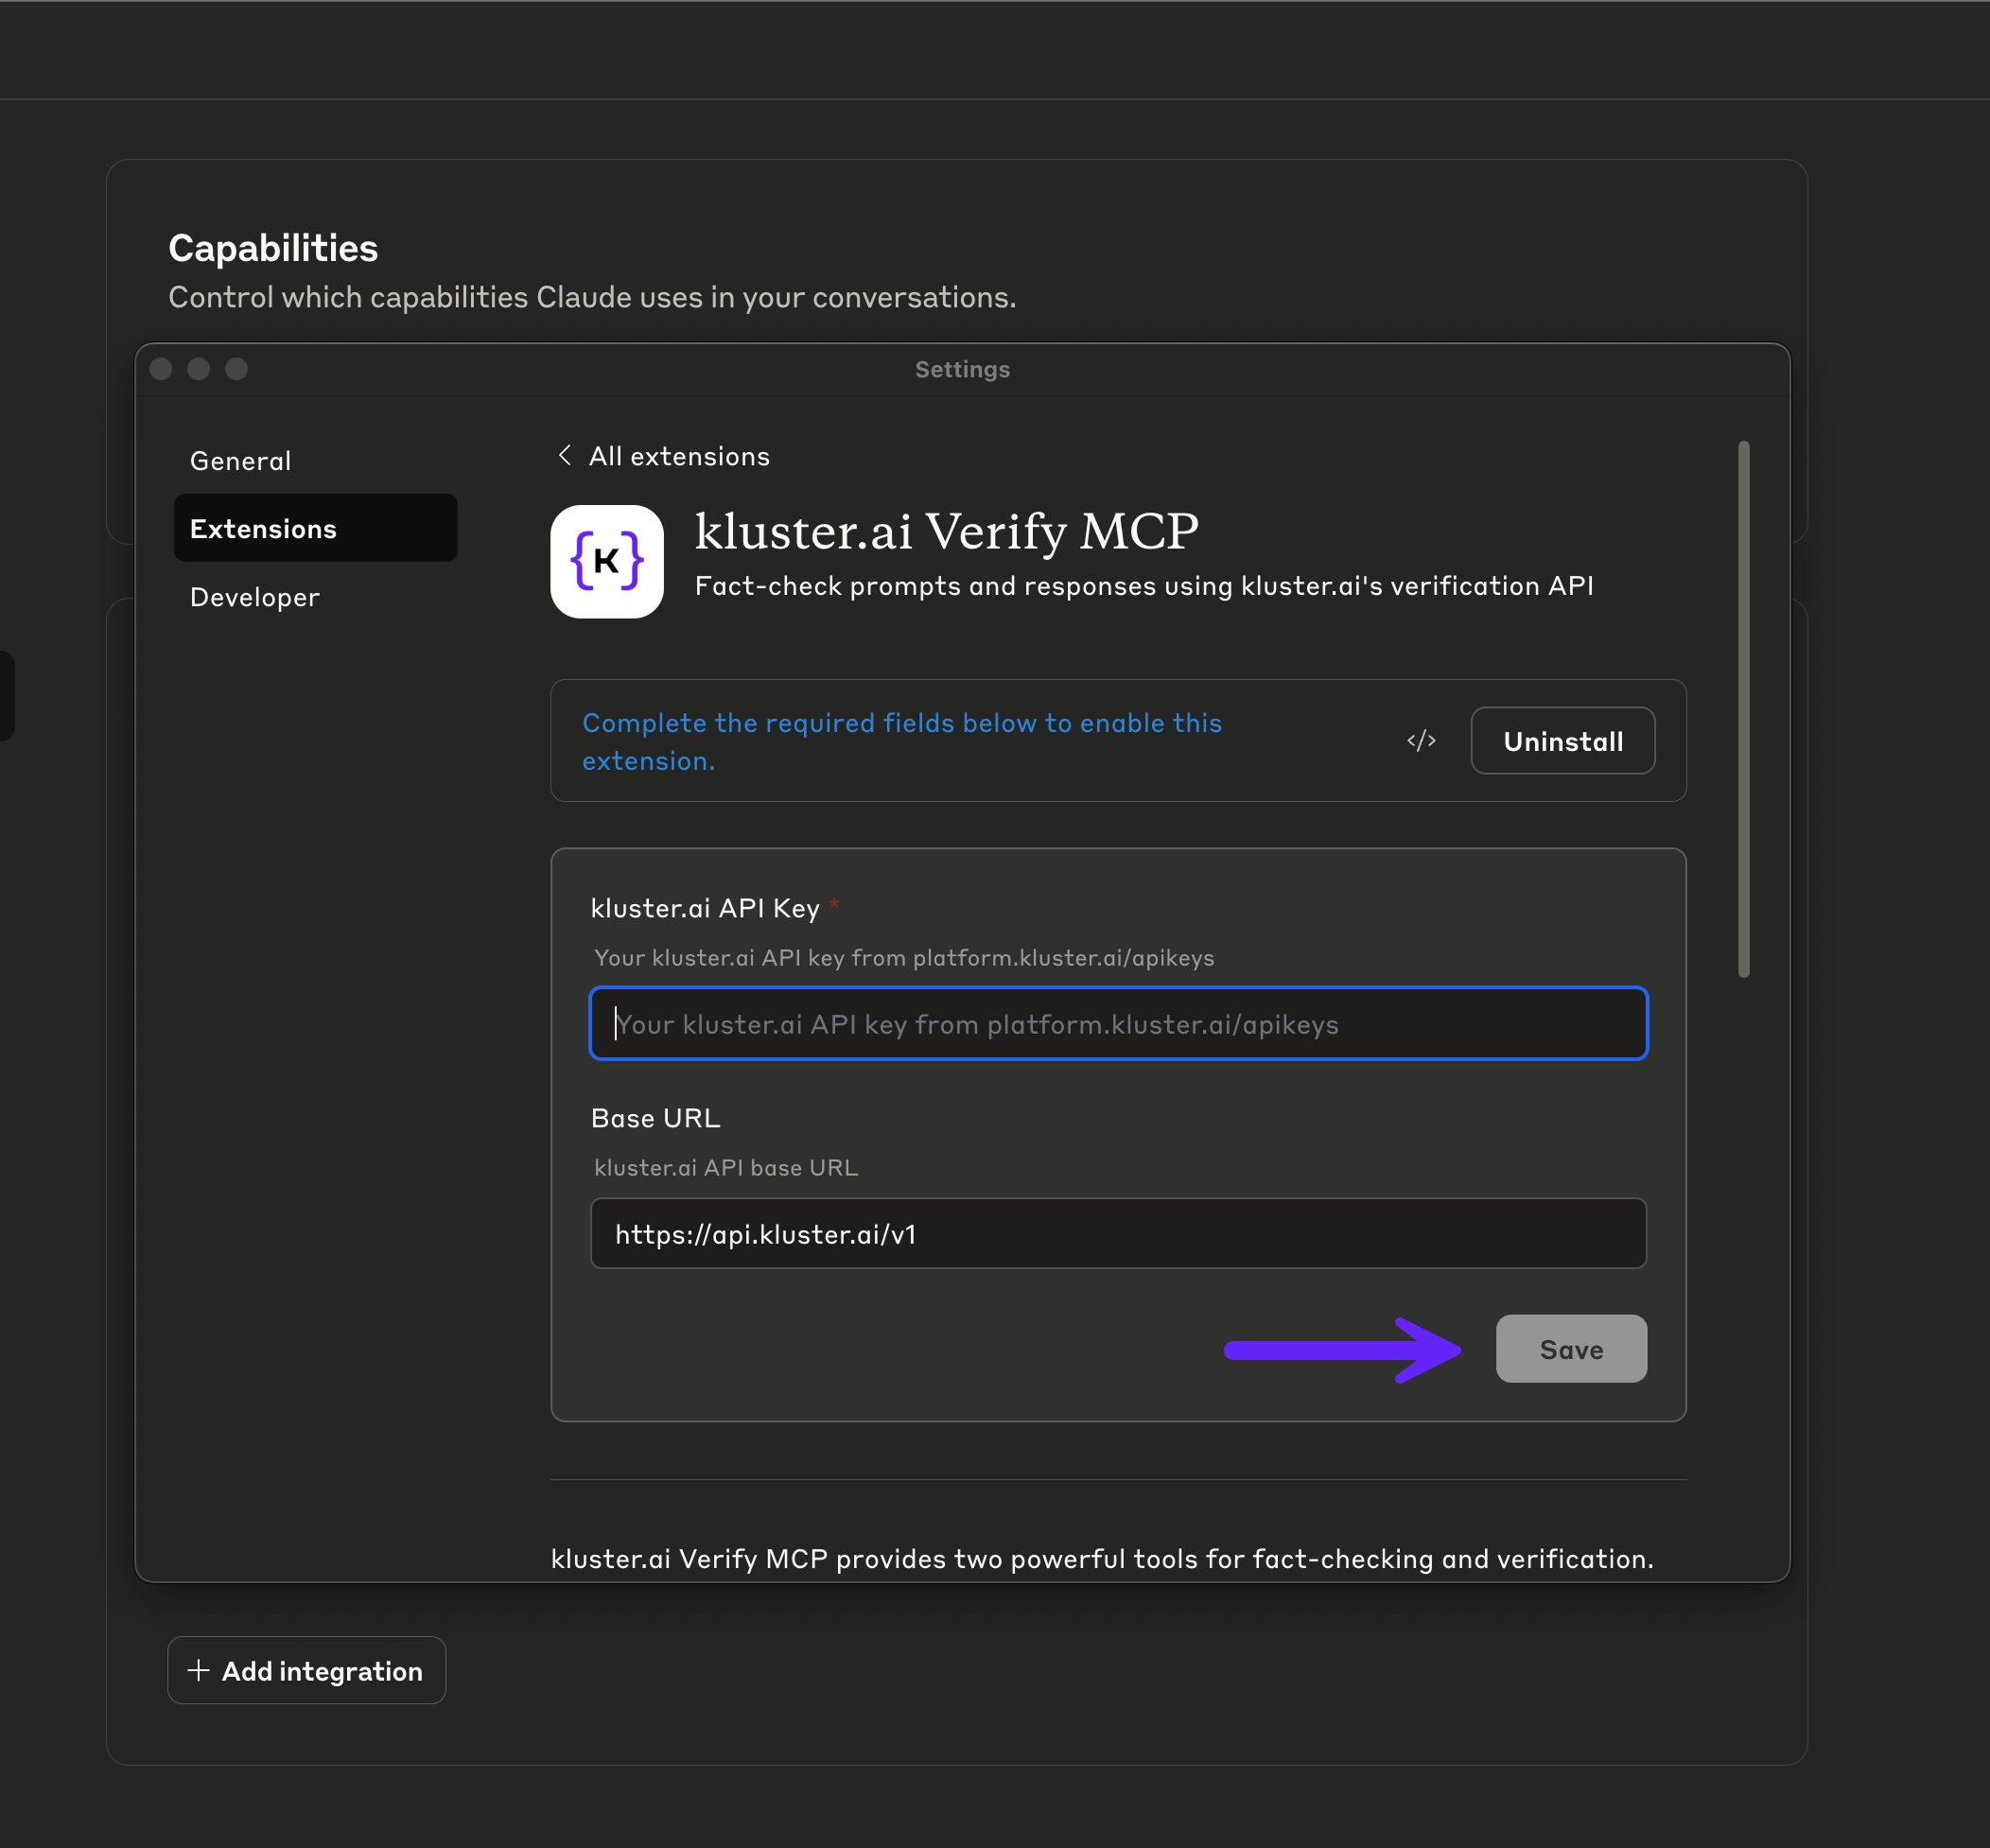
Add your API key: When prompted, enter your kluster.ai API key (follow the Get an API key guide to obtain one).
-
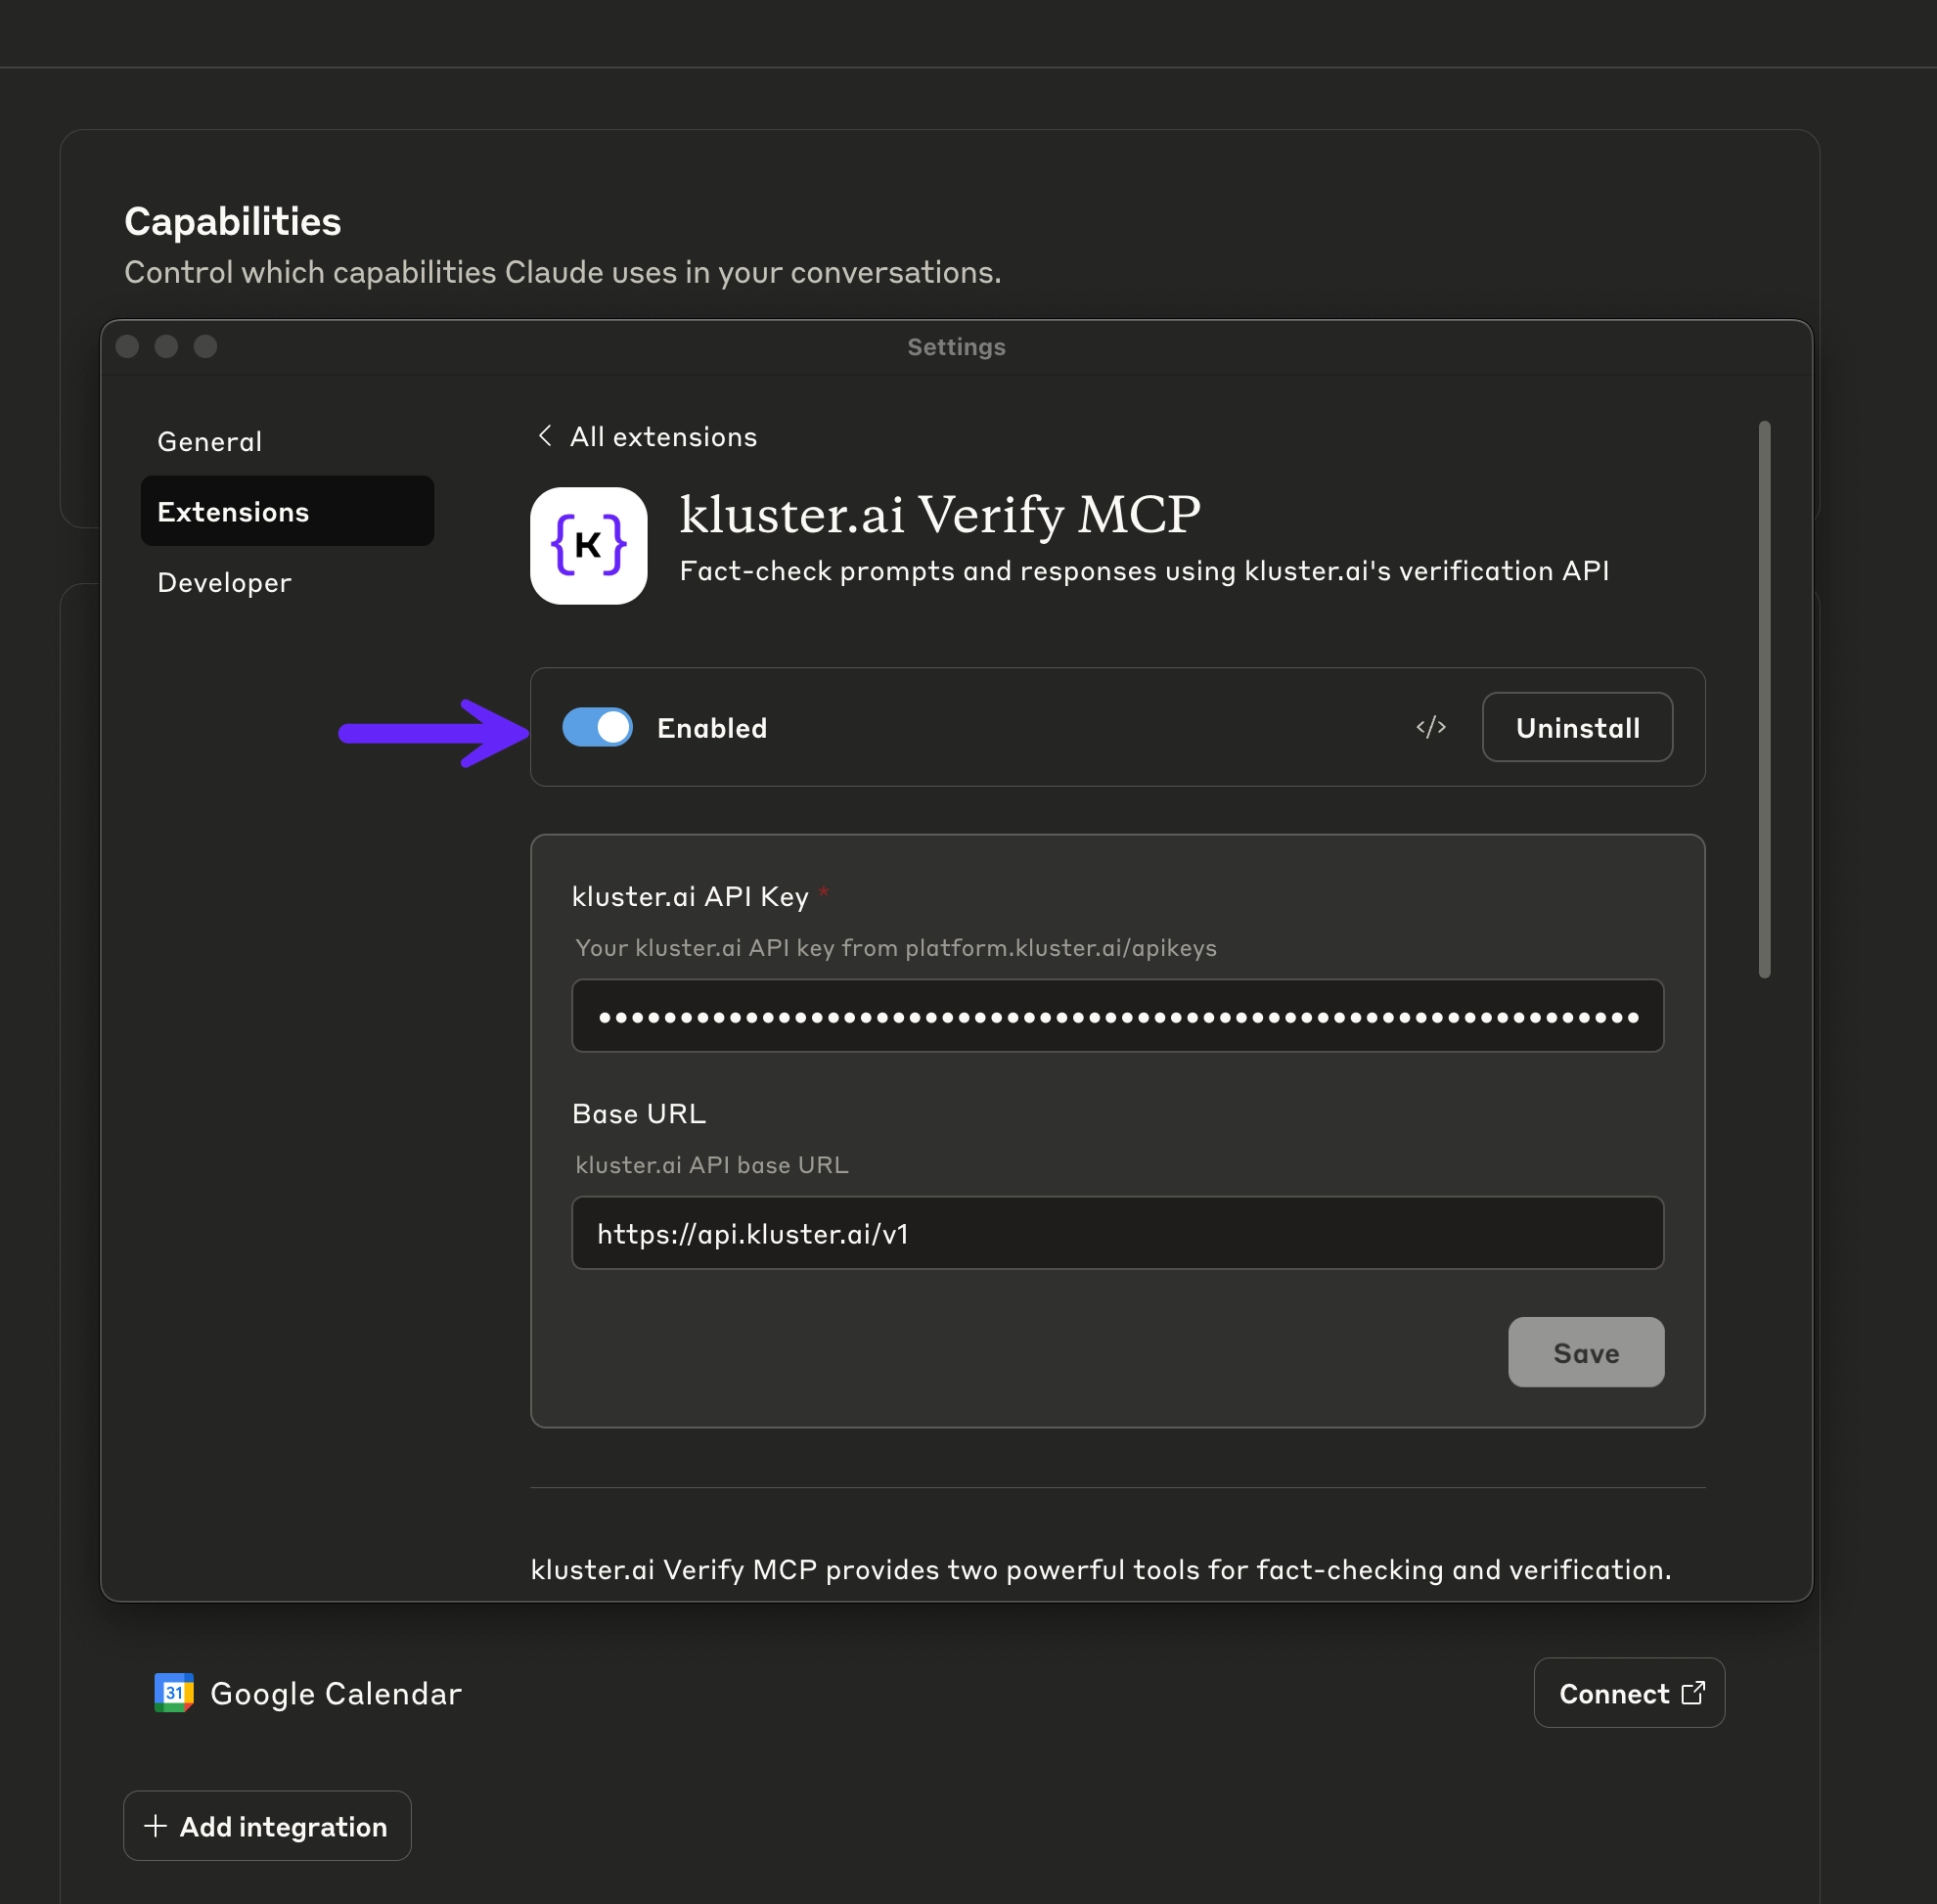
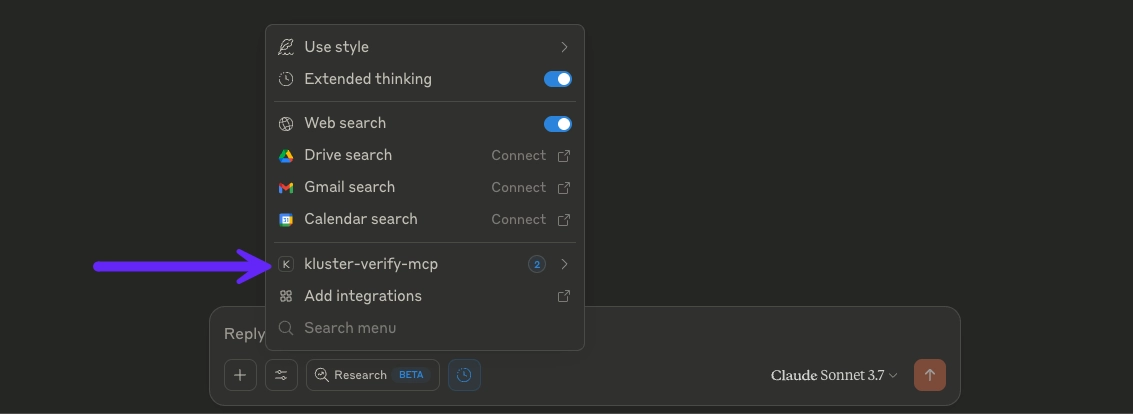
Enable the extension and start using: The kluster Verify tools will be available immediately in your conversations.
If you prefer manual configuration, you can add kluster Verify by editing Claude desktop's configuration file:
-
Locate the configuration file:
- macOS:
~/Library/Application Support/Claude/claude_desktop_config.json - Windows:
%APPDATA%/Claude/claude_desktop_config.json
- macOS:
-
Add the MCP server configuration:
{ "mcpServers": { "kluster-verify-mcp": { "command": "npx", "args": [ "mcp-remote", "https://api.kluster.ai/v1/mcp", "--header", "Authorization: Bearer YOUR_MCP_TOKEN" ] } } } -
Replace
YOUR_MCP_TOKENwith your actual MCP token (obtained after enabling MCP) on the kluster.ai platform. -
Save the file and restart Claude desktop to load the kluster Verify tools.
- Install GitHub Copilot extension.
-
Open the Chat view and click on the tools icon.
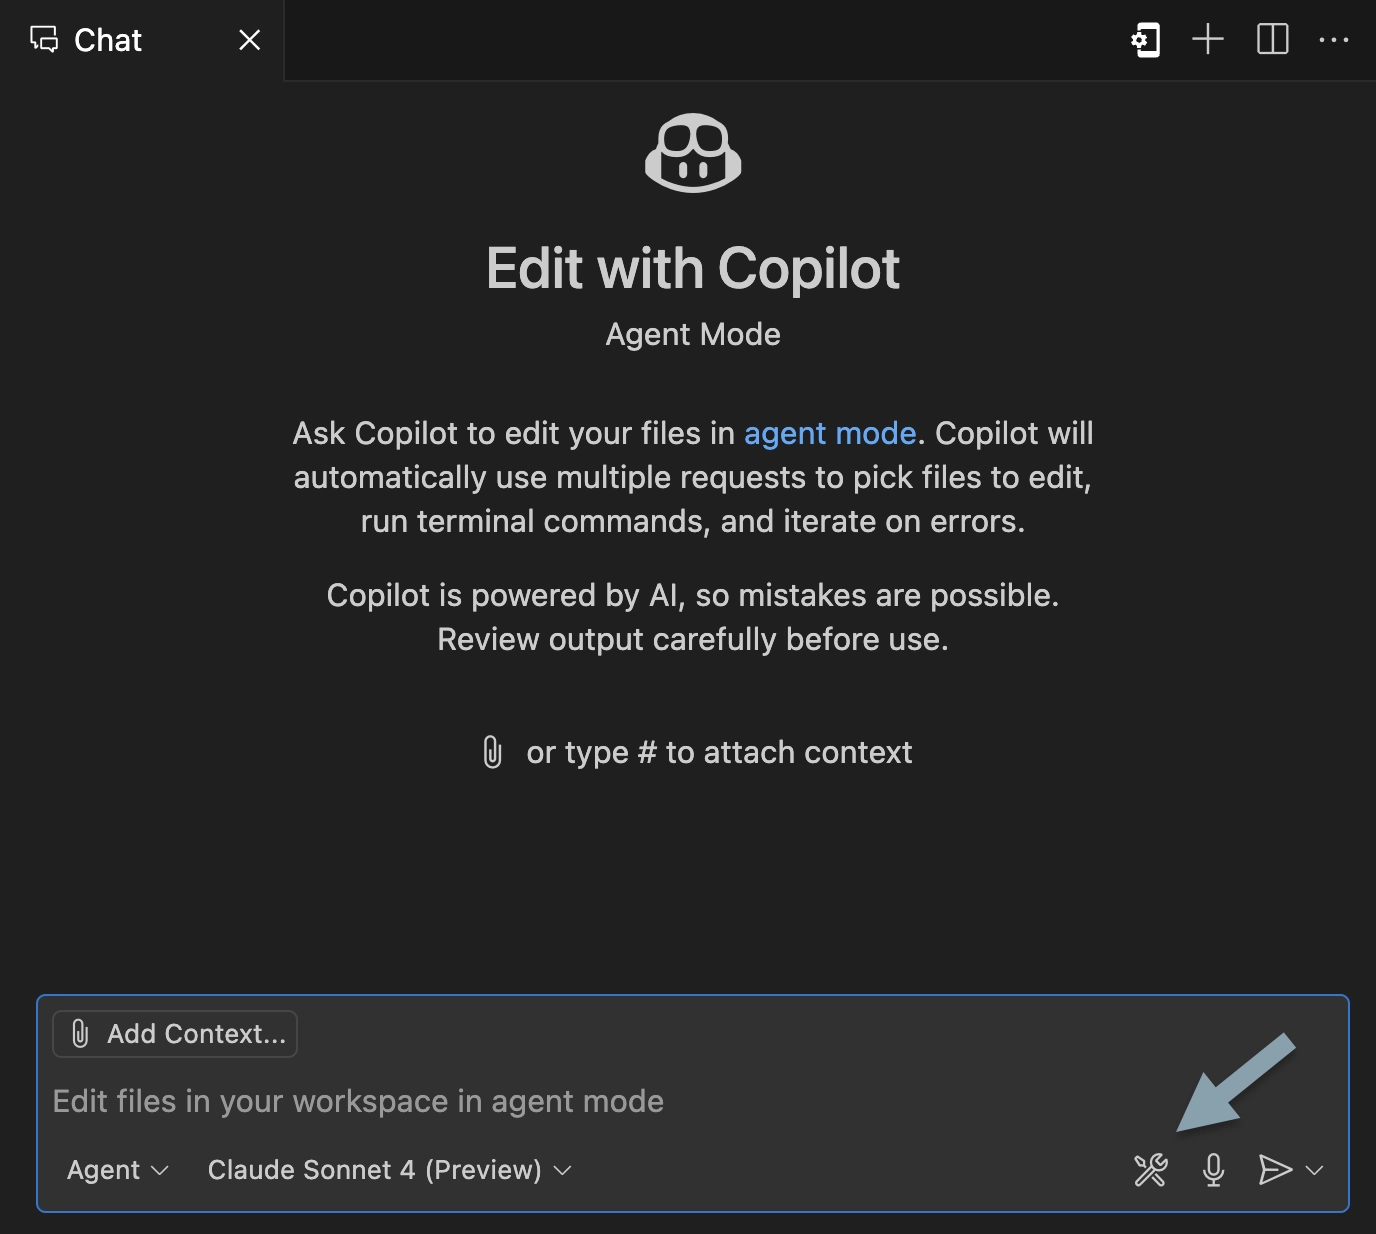
-
Choose Add More Tools... and click on Add MCP Server....
-
Select Command (stdio) and enter the following command, replacing
YOUR_MCP_TOKENwith your actual MCP token:npx mcp-remote https://api.kluster.ai/v1/mcp \ --header "Authorization: Bearer YOUR_MCP_TOKEN" -
Restart VS Code.
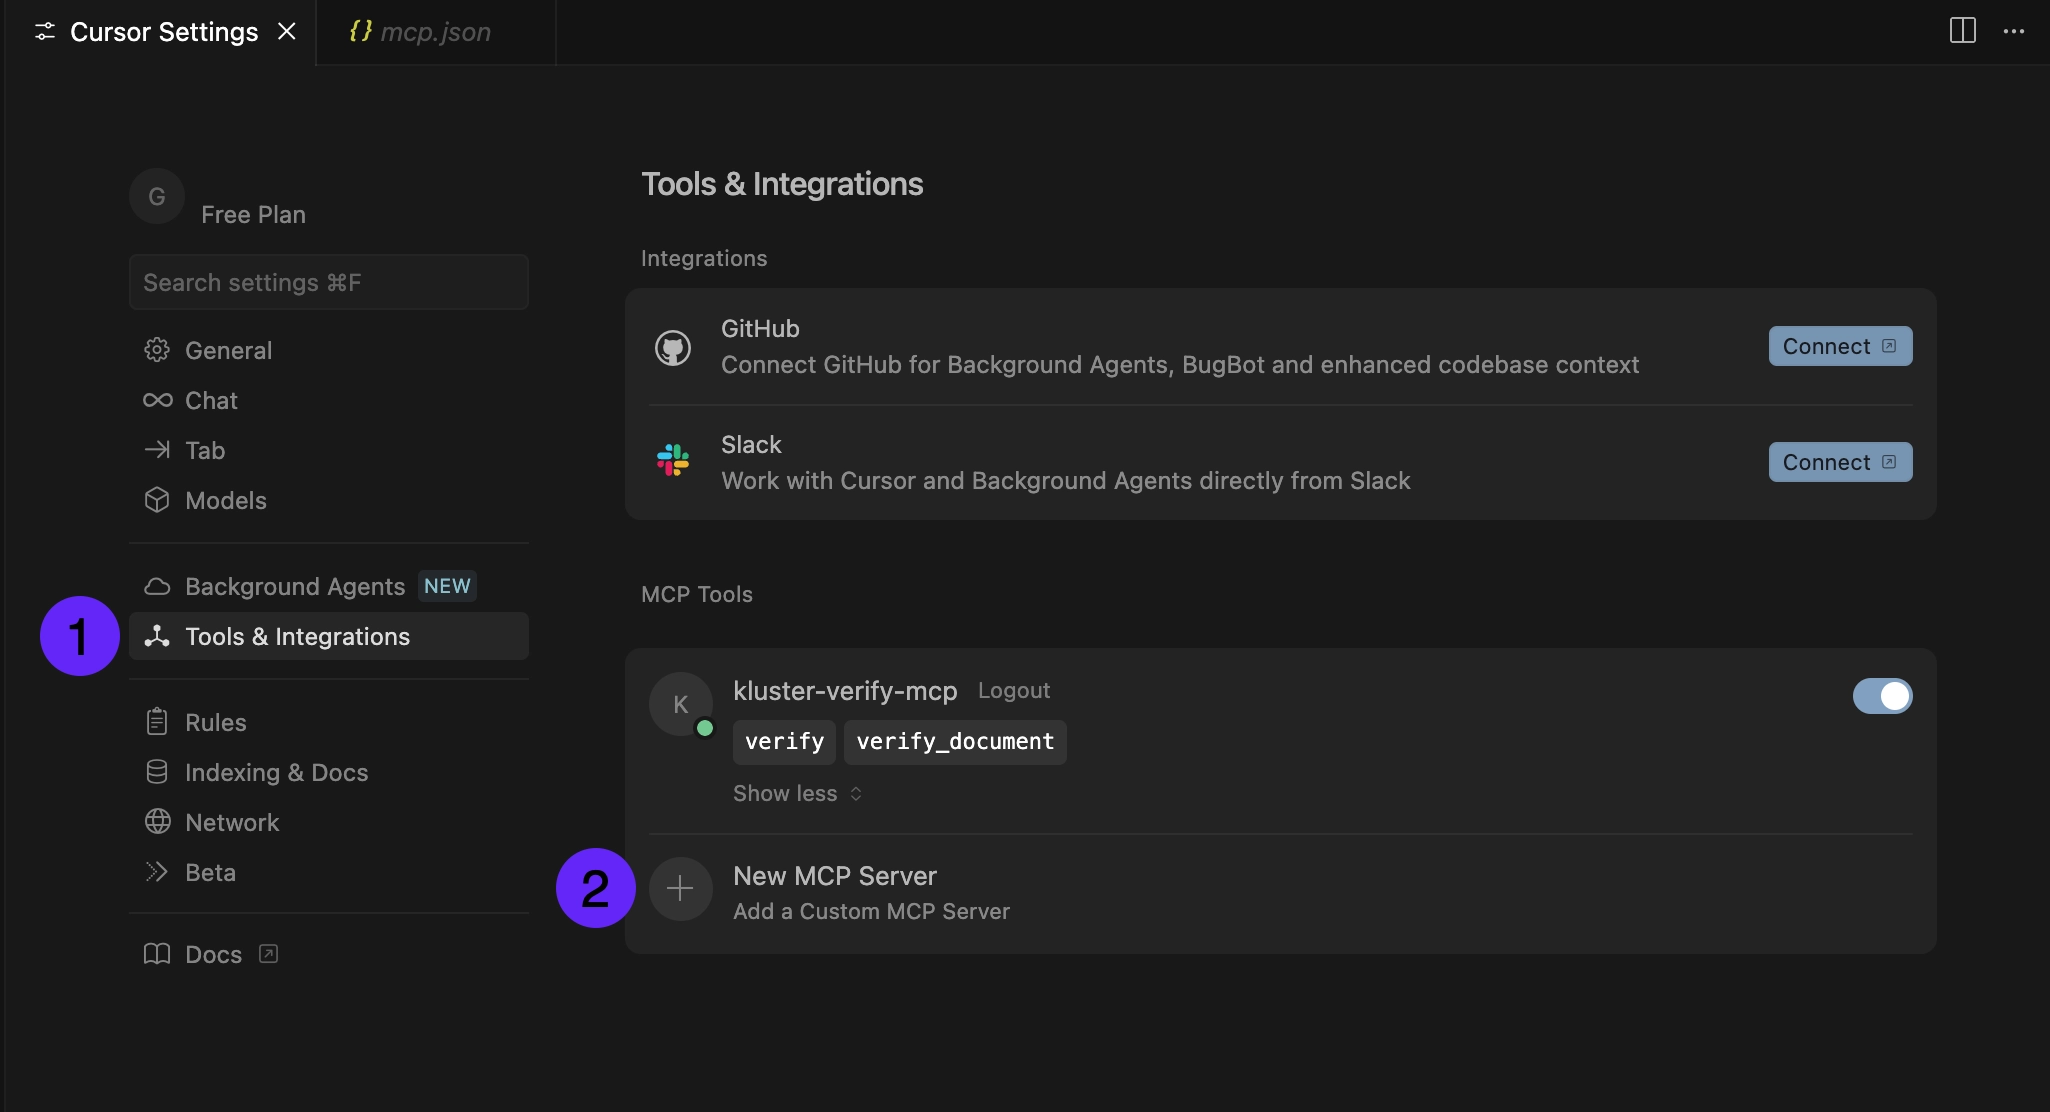
Open Cursor settings and:
-
Select Tools & Integrations.
-
To add your first MCP, click Add Custom MCP. To add additional MCPs later, use New MCP Server. Then enter the following configuration:
{ "mcpServers": { "kluster-verify-mcp": { "url": "https://api.kluster.ai/v1/mcp", "headers": { "Authorization": "Bearer YOUR_MCP_TOKEN" } } } } -
Restart Cursor.
Run this command in your terminal:
claude mcp add kluster-verify-mcp \
npx mcp-remote https://api.kluster.ai/v1/mcp \
--header "Authorization: Bearer YOUR_MCP_TOKEN"
Available tools#
verify: Validates prompt and response pairs against reliable sources.verify_document: Verifies prompt and response pairs in relation to uploaded documents.
SDK integrations#
Looking to integrate MCP tools into your own applications? Check out the SDK integration guides:
- OpenAI Agents SDK: Build Python agents with built-in verification capabilities using OpenAI's Agents framework.
Next steps#
- Complete setup guide with usage examples.
- Self-hosted deployment for local development.