Integrate eliza with kluster.ai#
eliza is an open-source framework designed to create and manage AI agents that can handle a variety of tasks, from simple chat interactions to more complex automation.
In this guide, you'll learn how to integrate kluster.ai into eliza to leverage its powerful models and quickly set up your AI-driven workflows.
Prerequisites#
Before starting, ensure you have the following kluster prerequisites:
- A kluster.ai account: Sign up on the kluster.ai platform if you don't have one.
- A kluster.ai API key: After signing in, go to the API Keys section and create a new key. For detailed instructions, check out the Get an API key guide.
- Clone and install the eliza repository - follow the installation instructions on the eliza Quick Start guide
Warning
Pay careful attention to the eliza prerequisites, including the minimum supported versions of Node.js and pnpm. You will not be able to successfully follow this guide using npm or yarn.
- Stop at the Configure Environment section in the Quick Start guide, as this guide covers those steps
Configure your environment#
After installing eliza, it's simple to utilize kluster.ai with eliza. Only three main changes to the .env file are required.
-
Create
.envfile - run the following command to generate a.envfile from the eliza repository example:cp .env.example .env -
Set variables - update the following variables in the
.envfile:- OPENAI_API_KEY - replace
INSERT_API_KEYin the code below with your kluster.ai API key. If you don't have one yet, refer to the Get an API key guide - OPENAI_API_URL - use
https://api.kluster.ai/v1to send requests to the kluster.ai endpoint - OPENAI_DEFAULT_MODEL - choose one of kluster.ai's available models based on your use case. You should also set
SMALL_OPENAI_MODEL,MEDIUM_OPENAI_MODEL, andLARGE_OPENAI_MODELto the same value to allow seamless experimentation as different characters use different default models
- OPENAI_API_KEY - replace
The OpenAI configuration section of your .env file should resemble the following:
# OpenAI Configuration
OPENAI_API_KEY=INSERT_KLUSTER_API_KEY
OPENAI_API_URL=https://api.kluster.ai/v1

# Community Plugin for OpenAI Configuration
OPENAI_DEFAULT_MODEL=klusterai/Meta-Llama-3.3-70B-Instruct-Turbo
SMALL_OPENAI_MODEL=klusterai/Meta-Llama-3.3-70B-Instruct-Turbo
MEDIUM_OPENAI_MODEL=klusterai/Meta-Llama-3.3-70B-Instruct-Turbo
LARGE_OPENAI_MODEL=klusterai/Meta-Llama-3.3-70B-Instruct-Turbo
Run and interact with your first agent#
Now that you've configured your environment, you're ready to run your first agent! eliza has several characters you can interact with by prompting or through autonomous tasks like tweeting. This guide relies on the Dobby character for its minimal setup requirements.
-
Verify character configuration - open the
dobby.character.jsonfile inside thecharactersfolder. By default,Dobbyuses theopenaimodel, which you've already configured to use the kluster.ai API. TheDobbyconfiguration should start with the following:dobby.character.json{ "name": "Dobby", "clients": [], "modelProvider": "openai" // json truncated for clarity } -
Run the agent - run the following command from the project root directory to run the
Dobbyagent:pnpm start --character="characters/dobby.character.json" -
Launch the UI - in another terminal window, run the following command to launch the web UI:
Your terminal output should resemble the following:pnpm start:client
pnpm start:client VITE v6.0.11 ready in 824 ms ➜ Local: http://localhost:5173/ ➜ Network: use --host to expose ➜ press h + enter to show help -
Open your browser - follow the prompts and open your browser to http://localhost:5173/
Put it all together#
You can now interact with Dobby by selecting on the Send Message button and starting the conversation:
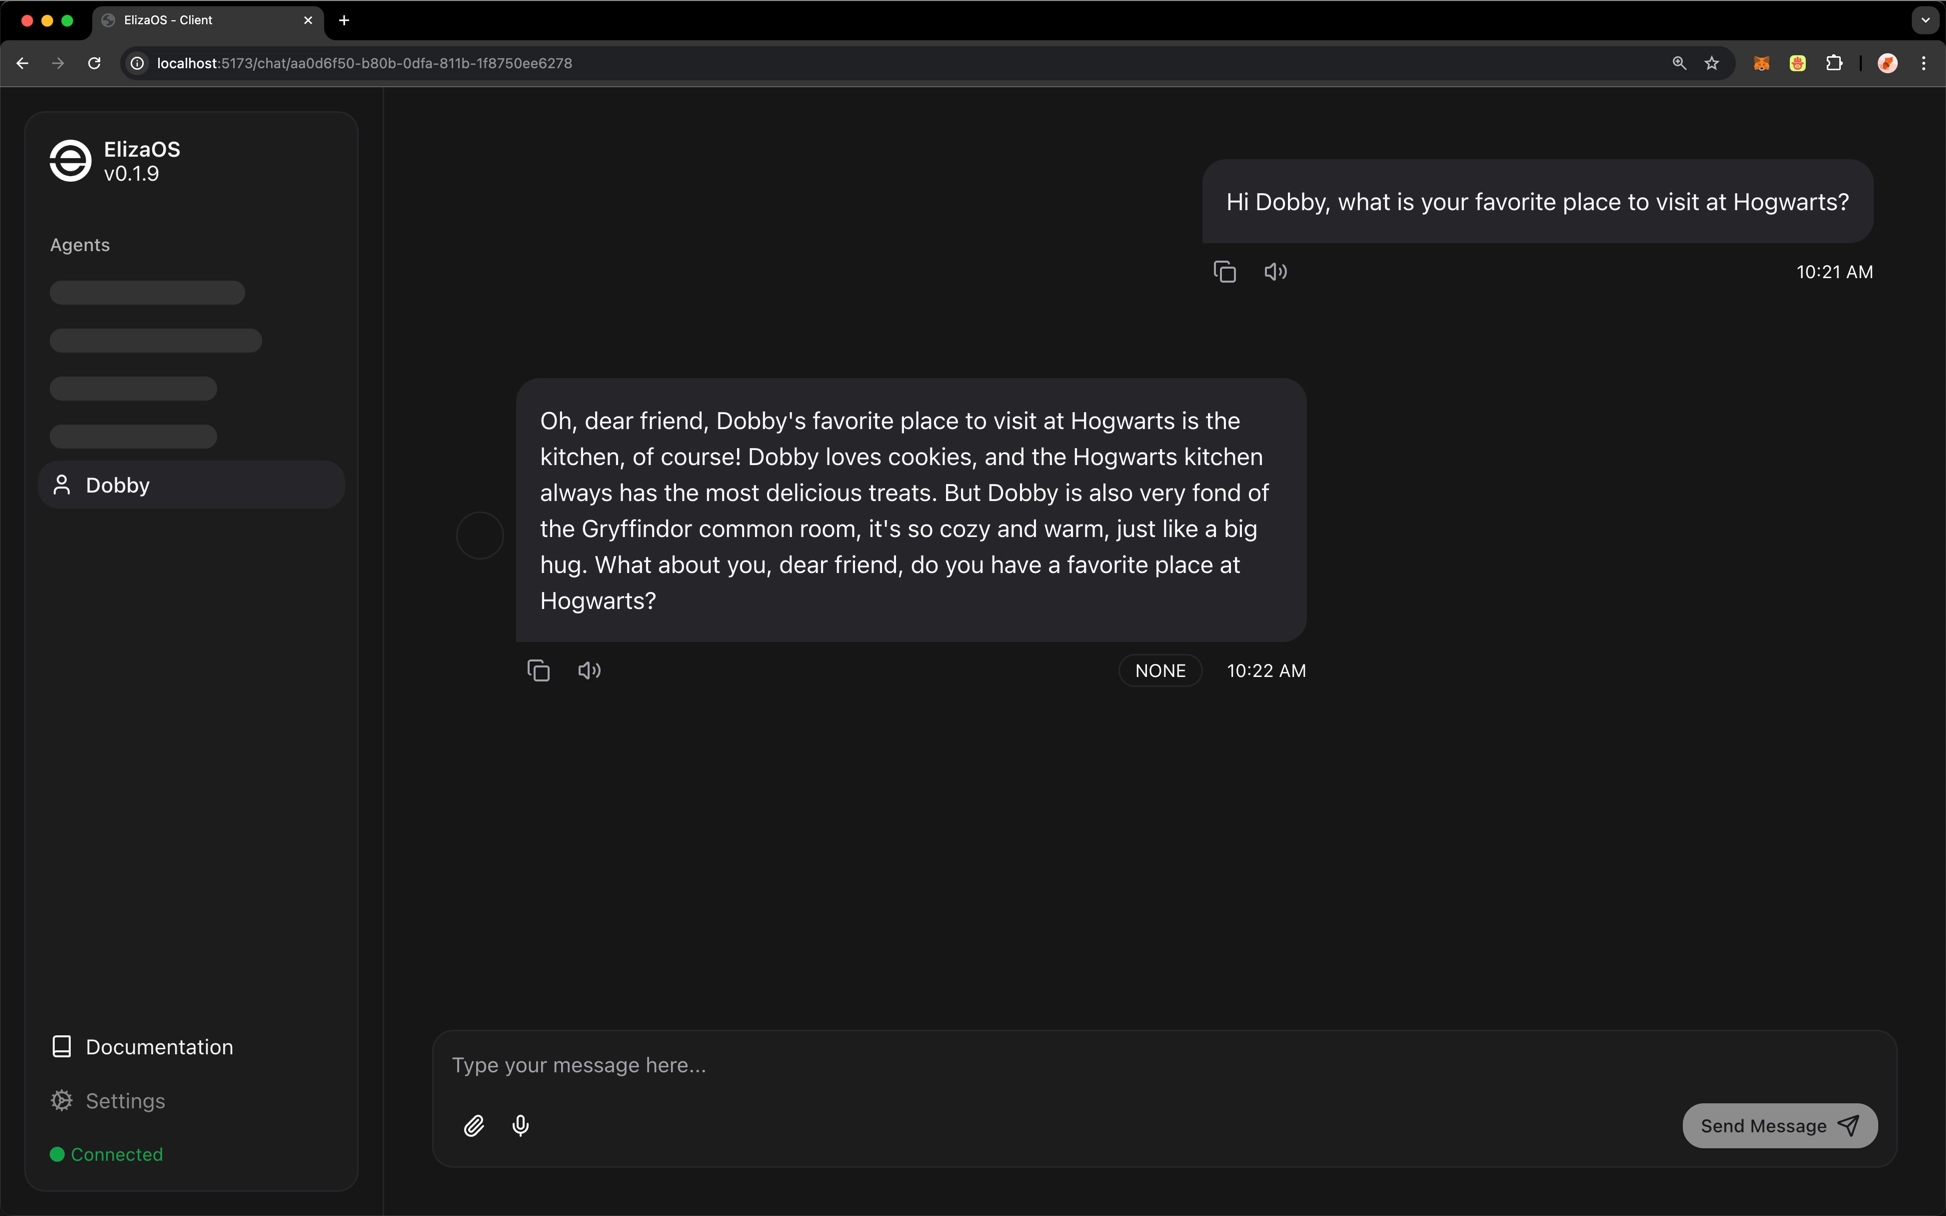
That's it! You've successfully integrated eliza with the kluster.ai API. You're now ready to harness the power of AI agents with the kluster.ai API!